NOTE!!! You must print at the same settings for each file so that they align together perfectly – please always print at 100% scale. This setting will fit on both letter and A4 paper. (Side story, the first time I shared this craft at a children’s church, my example worked perfectly, but I accidentally printed a page with a different scale setting, and only realised when the kids were making the craft and they couldn’t align the transparency!! Everyone was very gracious, but it was a major stuff up and I was very annoyed at myself for letting that happen!!!)
First, write a checklist of how many prints you’ll need of each item. Take note that the transparency and white slider has two items on each page.
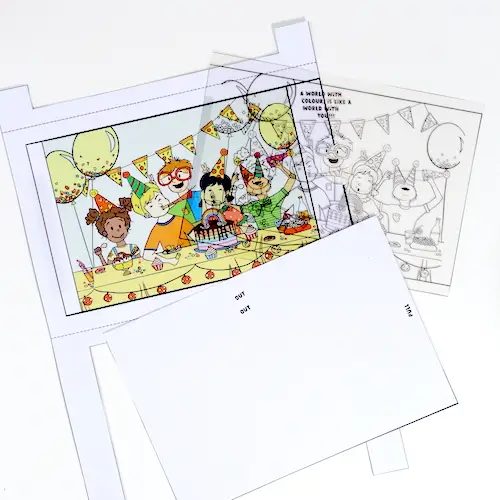
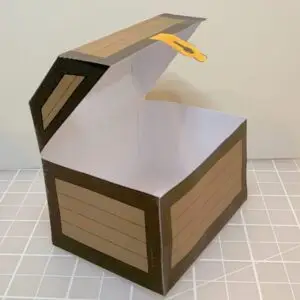
Print the envelope starting with the background on 200gsm or 110lb Index. It’s really important to use a thicker stock so that the craft is rigid.
Print the envelope template on the other side of the background. If doing this craft for little kids, I would recommend cutting and scoring the lines for them. Otherwise, older kids can do this themselves.
Print the white inserts.
Print the transparencies. Note: Please use inkjet transparencies, not photocopier transparencies as the heat from photocopiers can shrink the transparencies. Also, read the instructions to determine which side you print on otherwise you will have a very messy black ink situation on your hands – quite literally on your hands. (For the film I used, if you exhale on both sides, the side which was NOT foggy, was the side to print on.)
I suggest printing a colour version of the envelope so you don’t need to colour in the example.
To make the craft:
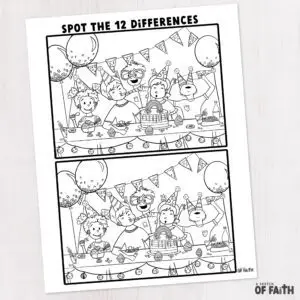
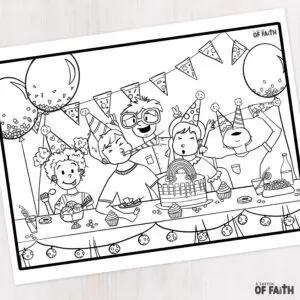
Have children colour in the craft. It’s quite detailed so will take some time.
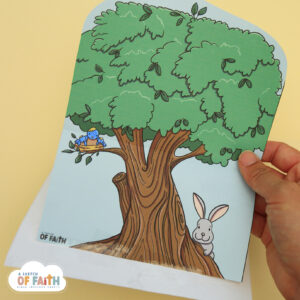
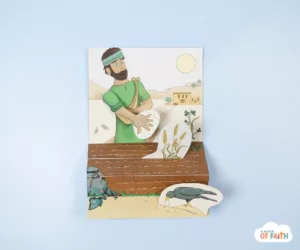
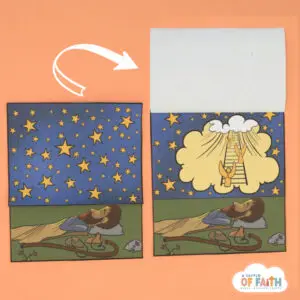
Next, align transparency PERFECTLY over the outlines on the envelope. Tape only the left side.
Fold the envelope on the fold lines to make the rectangular envelop shape. Tape together on left and top sides only. Make sure you score the lines first for a clean fold.
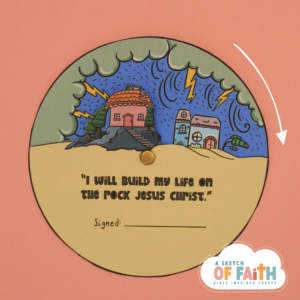
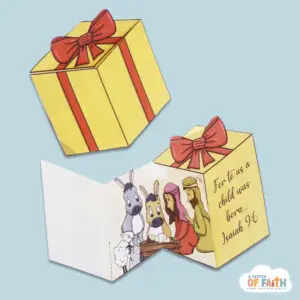
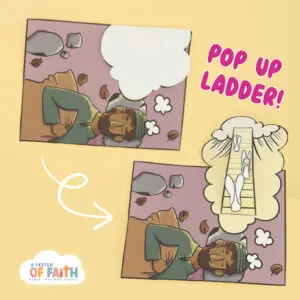
Insert the white insert underneath the transparency -this hides the coloured panel which is revealed when you pull the white insert out.
LET FUN BEGIN!!!
** HIGHLY RECOMMEND THIS PAPER from Amazon** which I use for ALL my crafts because it’s a bit thicker than ordinary printer paper and prints brilliantly!!!
** This is an affiliate link, which means if you make a purchase, I’ll receive a tiny portion of the sale (this does not increase the price for you!). they